Gap Lacing Method
Gap Lacing Method
This simple variation of Criss Cross Lacing skips a crossover to create a gap in the middle of the lacing, either to bypass a sensitive area on the instep or to increase ankle flexibility.
Lacing Technique
- Start at the bottom of the shoe on the first set of eyelets.
- Start lacing straight across on the inside and out through the eyelets.
- Cross the ends feeding the shoelace out through the next higher set of eyelets.
- As the shoelaces reaches the sensitive area of the foot run the shoelaces straight up the eyelets missing a set to create a gap in the lacing.
- Above the gap continue to criss cross the shoelace until lacing is complete.
How to Gap Lacing
- Face the toe of the shoe away from you
- From underneath, thread the lace through the lowest set of eyelets
- This forms the first ‘rung’
- The laces should be the same length
- Start with your right hand
- Feed the lace across to the outside hole in the 2nd ‘rung’ position
- Pull it through to the inside
- Repeat on the other side
- You should have a clear ‘cross’ shape
- With your right hand, thread the lace through the hole directly above
- Do the same on the other side
- This forms the ‘gap’ that relieves pressure on your instep
- Start with your right hand again
- Feed the lace across to the inside hole in the 4th ‘rung’ position
- Pull it through to the outside
- Repeat on the other side
- With your right hand, feed the lace across to the inside of the top hole
- Pull it though to the outside
- Repeat on the other side
- Adjust the laces until your shoe fits comfortably
Features
Relieves pressure; Allows more flex; Messy look; 15% longer ends (approx.)
Notes
The gap provides pressure relief in a couple of ways:
• There are no shoelaces running across the gap and pressing into the foot.
• There are no crossovers holding down the sides of the shoe on either side of the gap, allowing it to spread wider at that point, particularly with Variation 1.
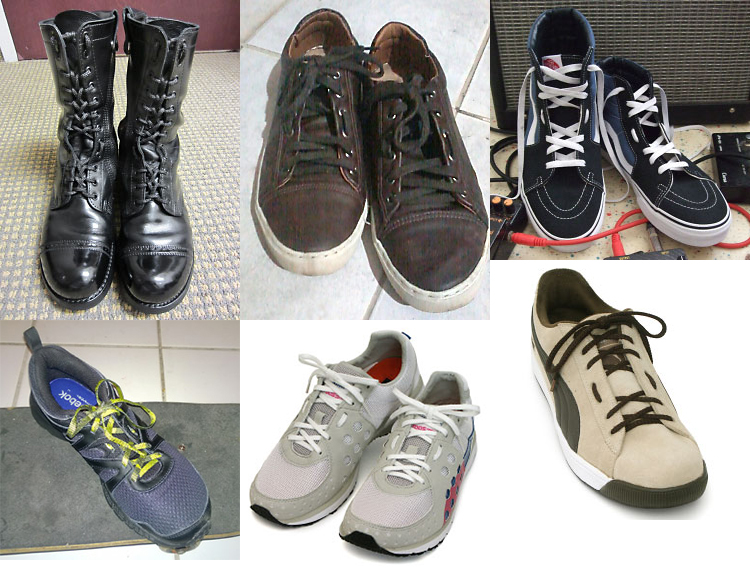
Besides providing pressure relief, a gap can instead be used to increase ankle flexibility, particularly on tall, heavy leather boots (as seen in the gallery below).
Note also that the gap does not have to be in the middle of the lacing (as shown in the diagrams and photos on this page) but can instead be positioned wherever needed.
Over Under Lacing Shoes
Shoelace Lengths for Gap Lacing


Leave a Reply
You must be logged in to post a comment.